What is head(amame)
They're 3D printed headphones. A kit includes expensive speaker drivers, some screws and printer files so you can make your own headphones.
The time cost
The money you aren't playing for brand name hi-fi headphones is made up for by how much time you have to spend making this. If you value your time, spending some more money might justify a pair of prebuilts over a kit like this.
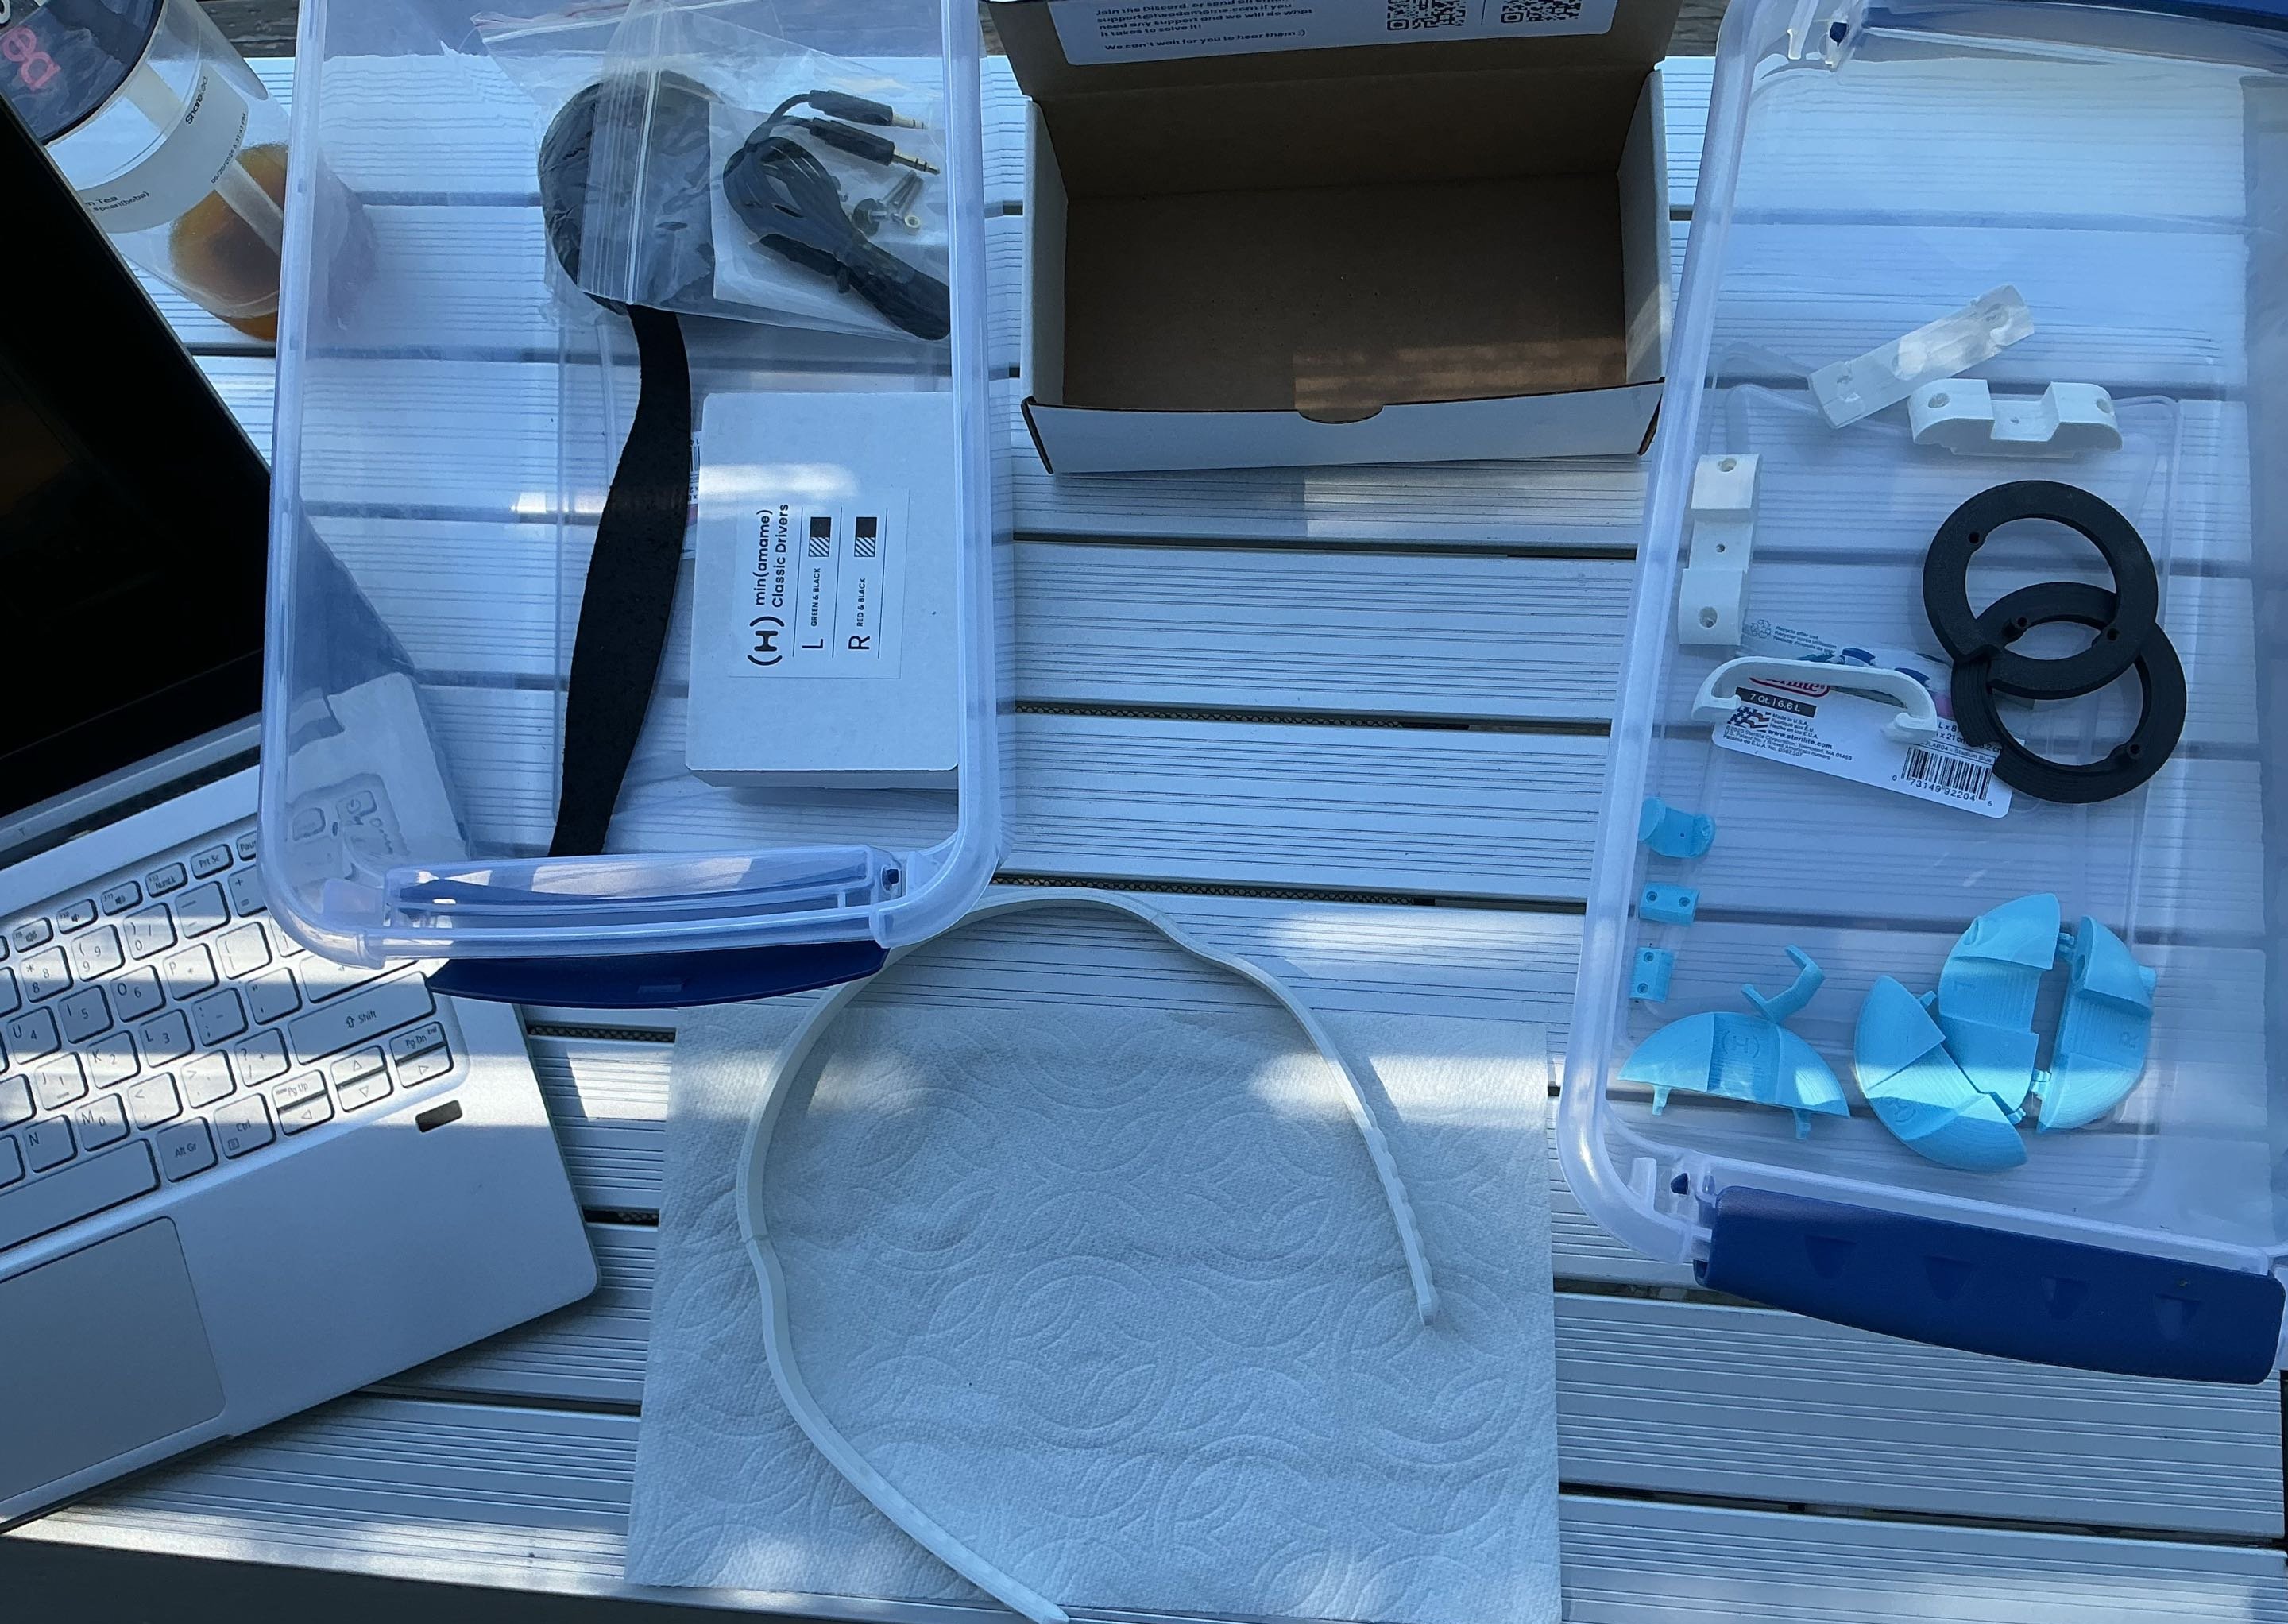
All min(amame) parts
Making mistakes
While the assembly video is only 13 minutes long, for most people it only takes maybe an hour or two of pure assembling, and maybe a day for printing the parts. I faced a lot of misprints and assembly mistakes.
For context, our 3D printer has been left outside for over a year and is facing several technical problems, which has led to multiple failed prints and some scuffed workarounds involving a glue stick. It took me four days, multiple warped parts and several failed prints to get everything in order. If there's one thing to learn from this, it's to never leave your printer in the elements for a prolonged time.
Now, the min(amame) printer files expect a full sized printer. Our mini printer and its tiny bed is incapable of printing the headband. Luckily, someone had already made a keyed headband for small printers which fit my printer. It fit in place with the help of a file and some super glue, at the expense of durability. Have I told you yet that this is a scuffed build?
If you also have a small printer, it might be worthwhile to look into purchasing a preprinted headband from head(amame) for $10 (which doesn't come included in the $70 parts kit).
During assembly, you are required to use heat-set inserts for the screws. For most people this is a simple task, given that you are able to properly center the insert. For me, this didn't go well.
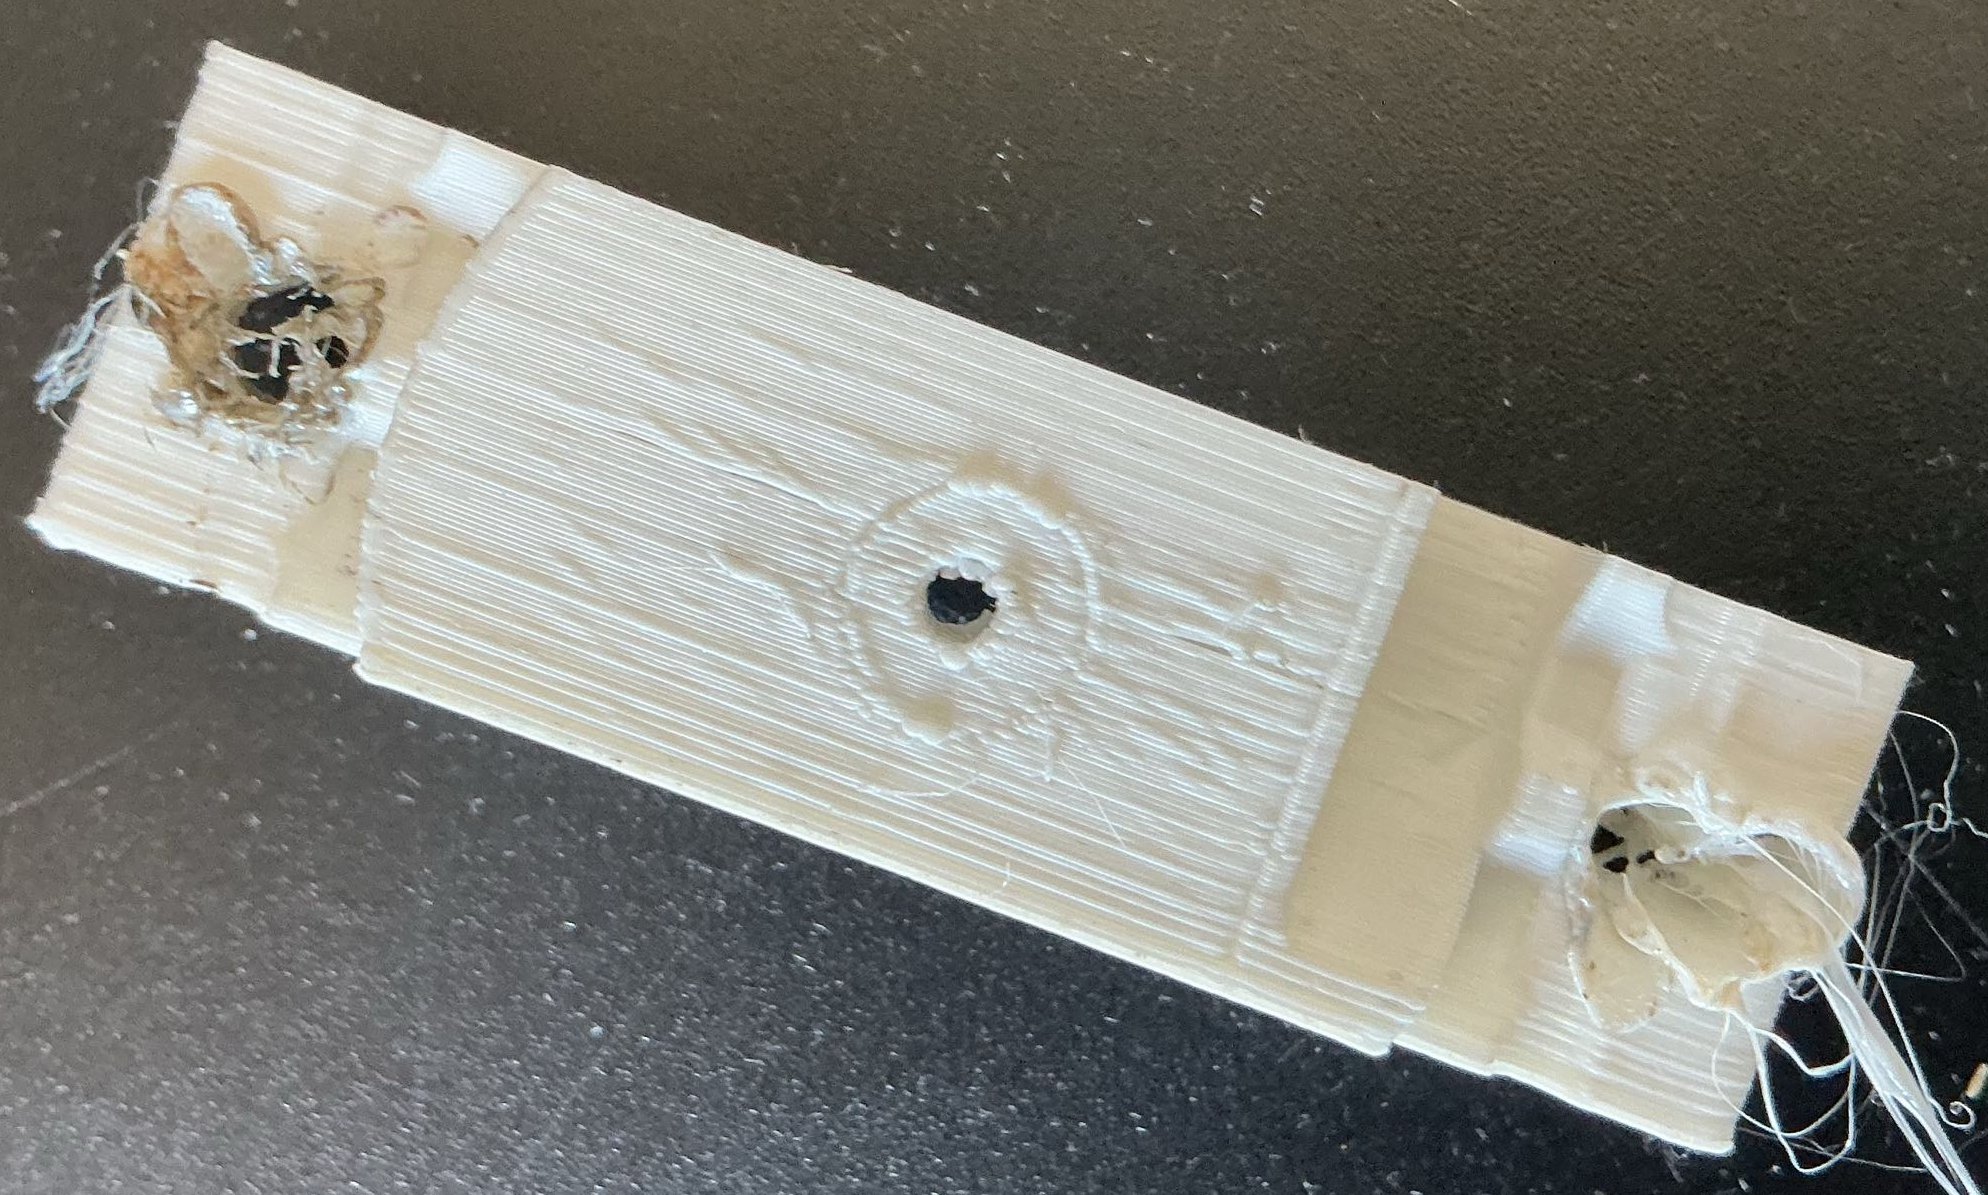
Soldering iron heat-set mishap
Final assembly
You will probably need a second pair of hands when putting the earcups all together. There is a lot of parts that you're managing at once. The tutorial makes it look easy.
The drivers I had were connected to a female audio jack which had a huge solder blob on the outside. I'm not sure why this wasn't mentioned in the video but this made it impossible for the jack to fit flush in the earcup. This is very easily fixed by simply filing down a corner of the L/R earcup audio holes so there's space for the solder blob to fit. I couldn't find anyone else with this issue but thought I'd note it down since it does seem like a design flaw.
Anyways, given the several issues I faced, this was a certainly a longer weekend project than I'd hoped. If done right with a nice printer, you would probably have better (and faster!) results.
Overall experience
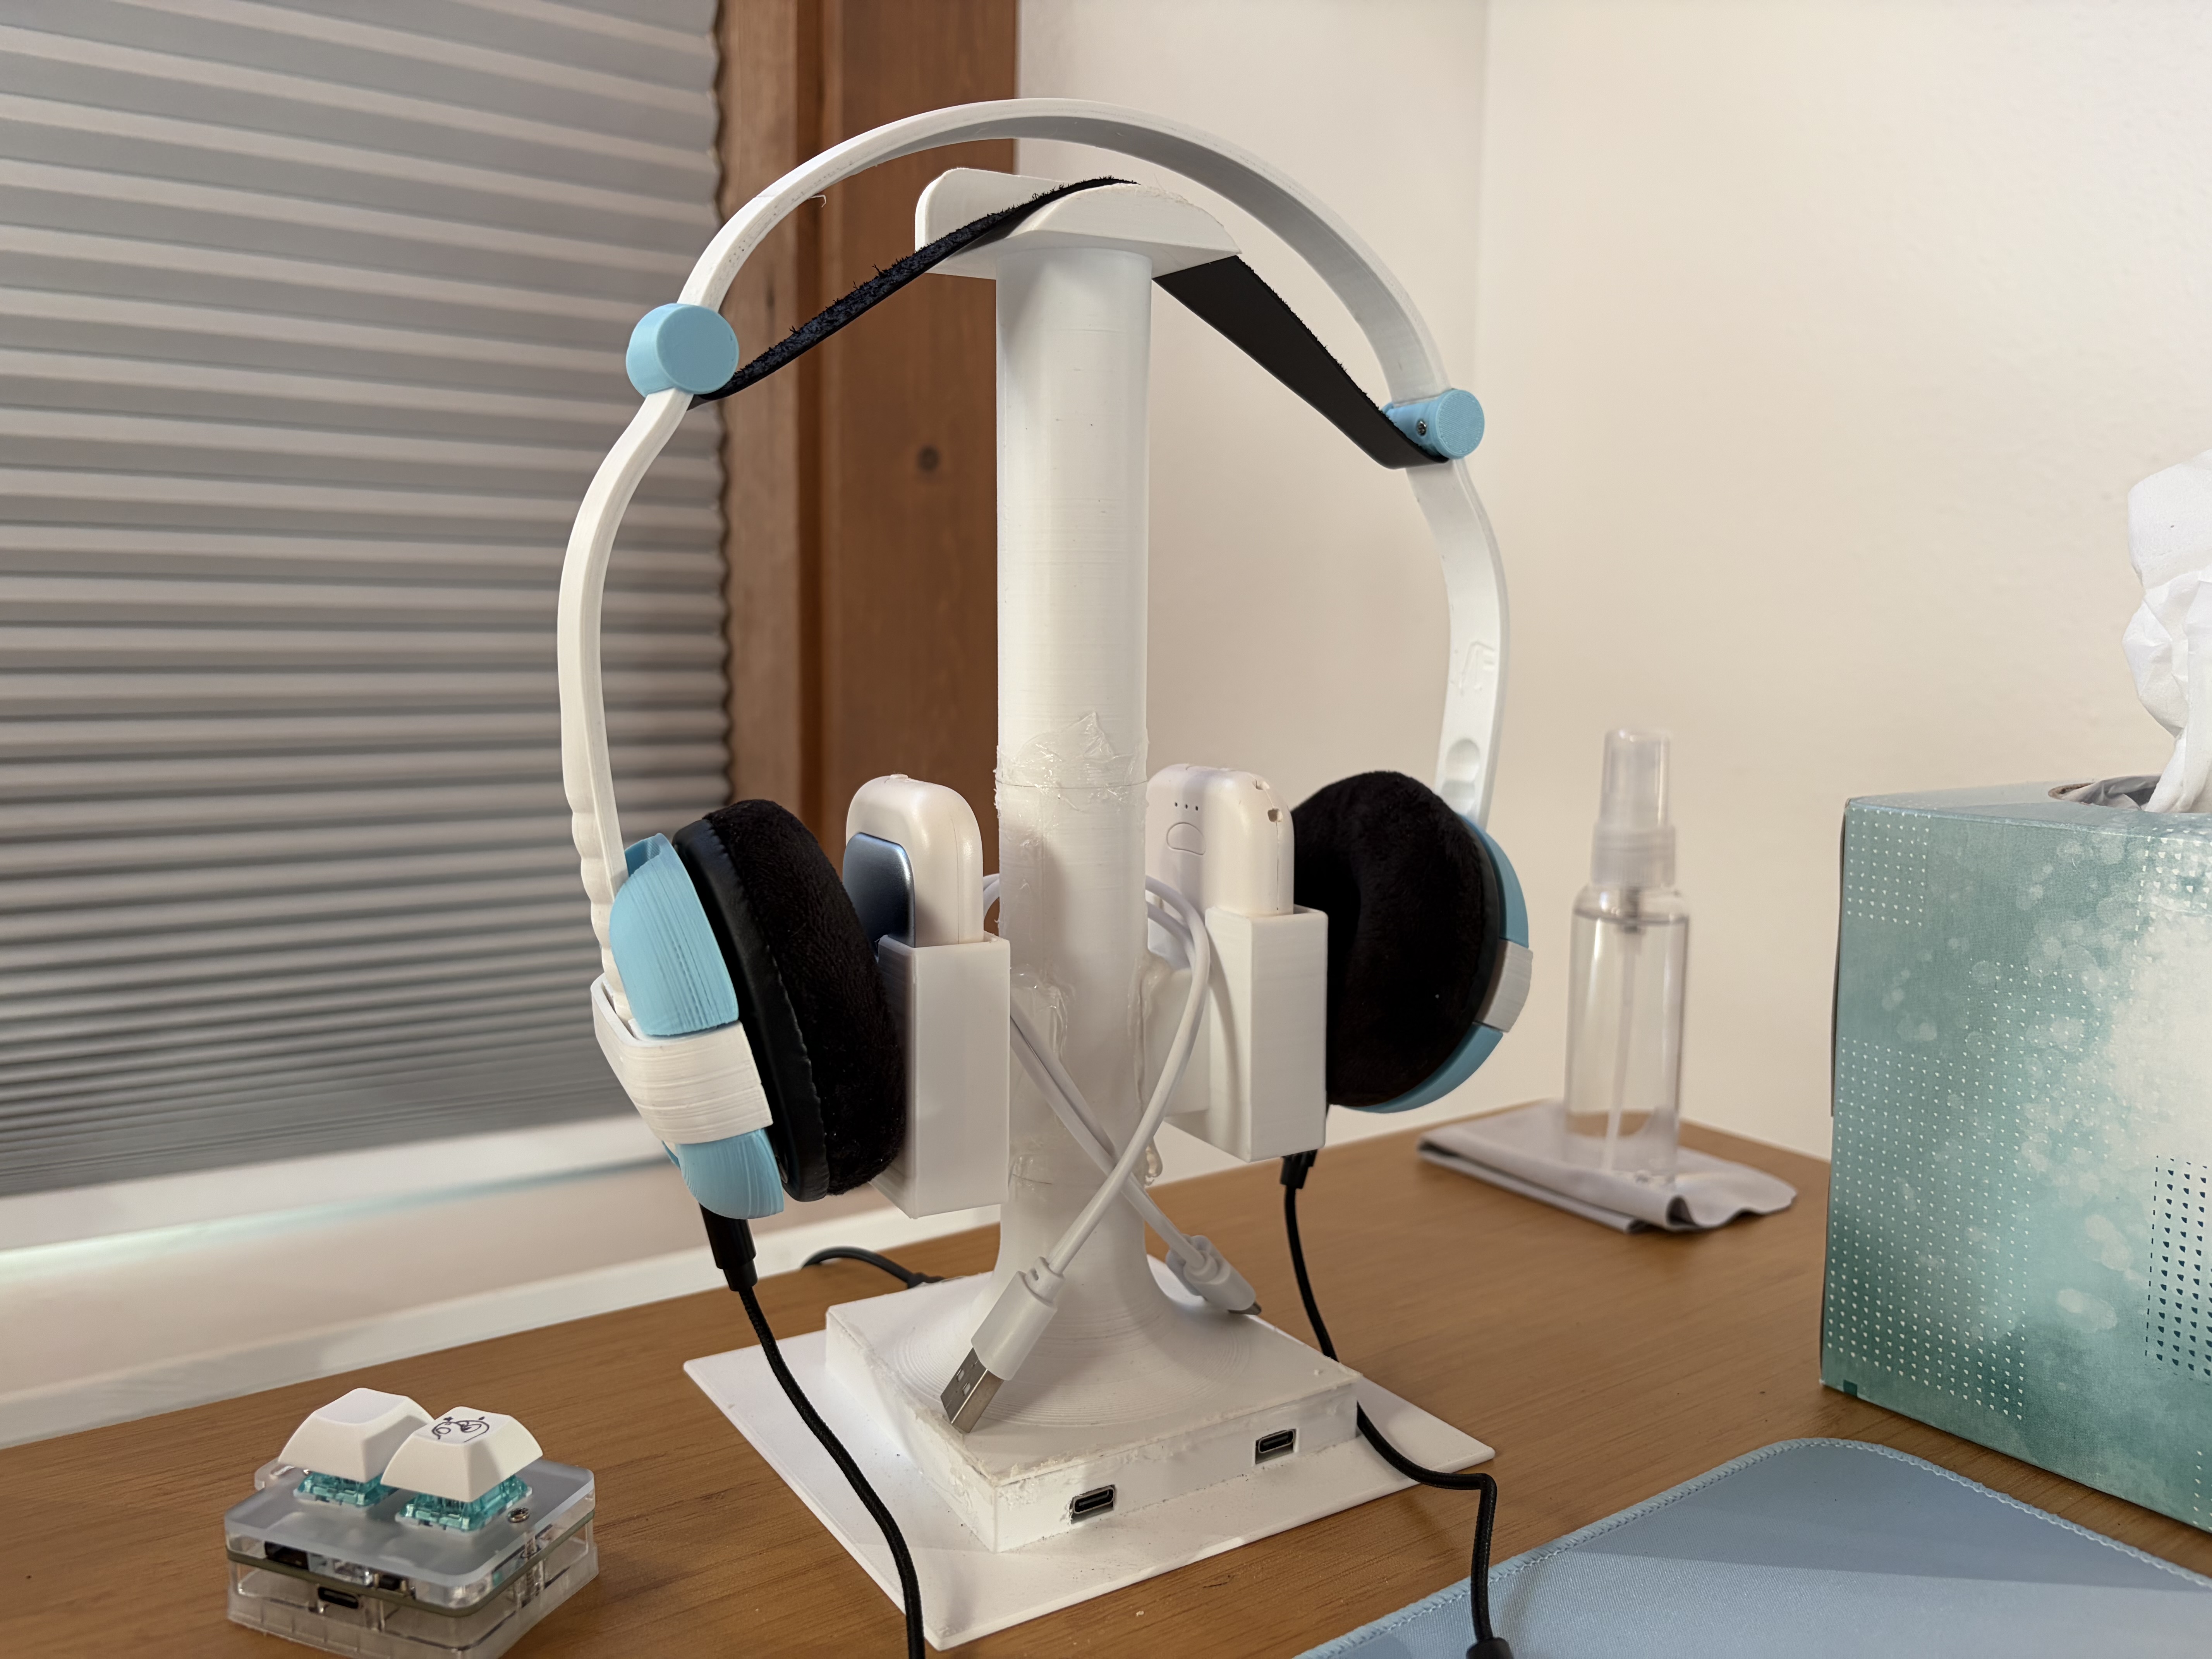
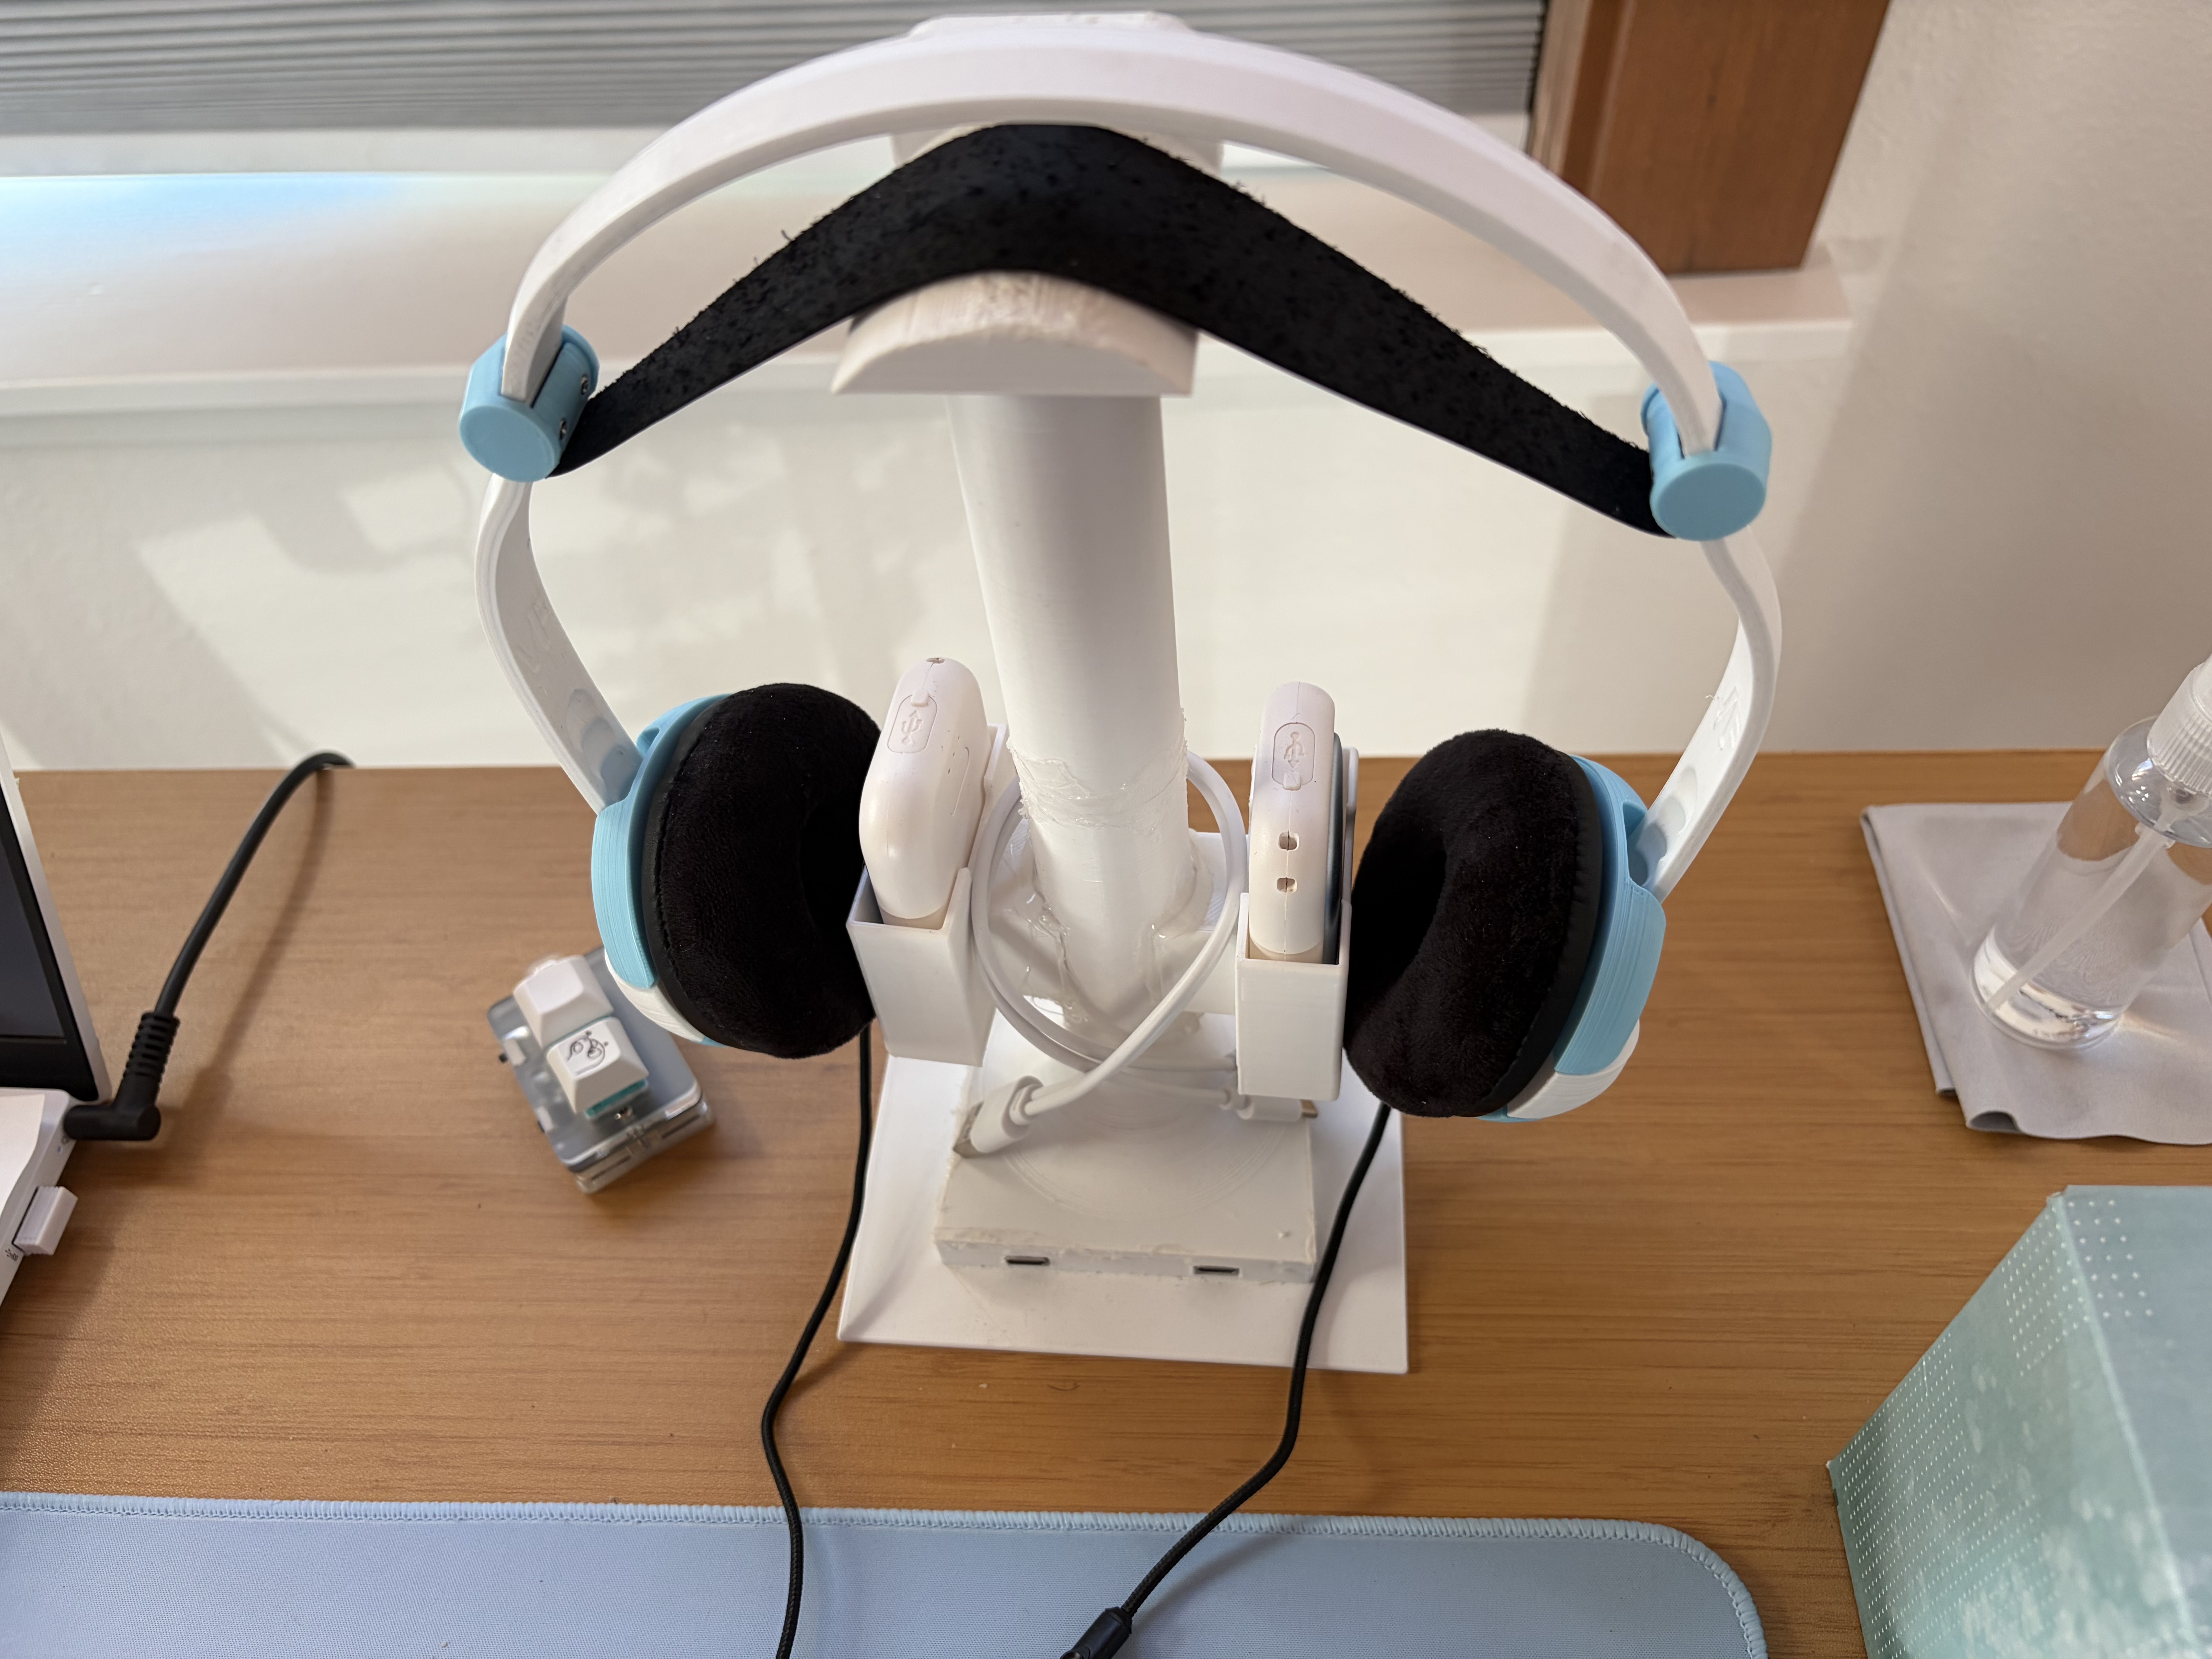
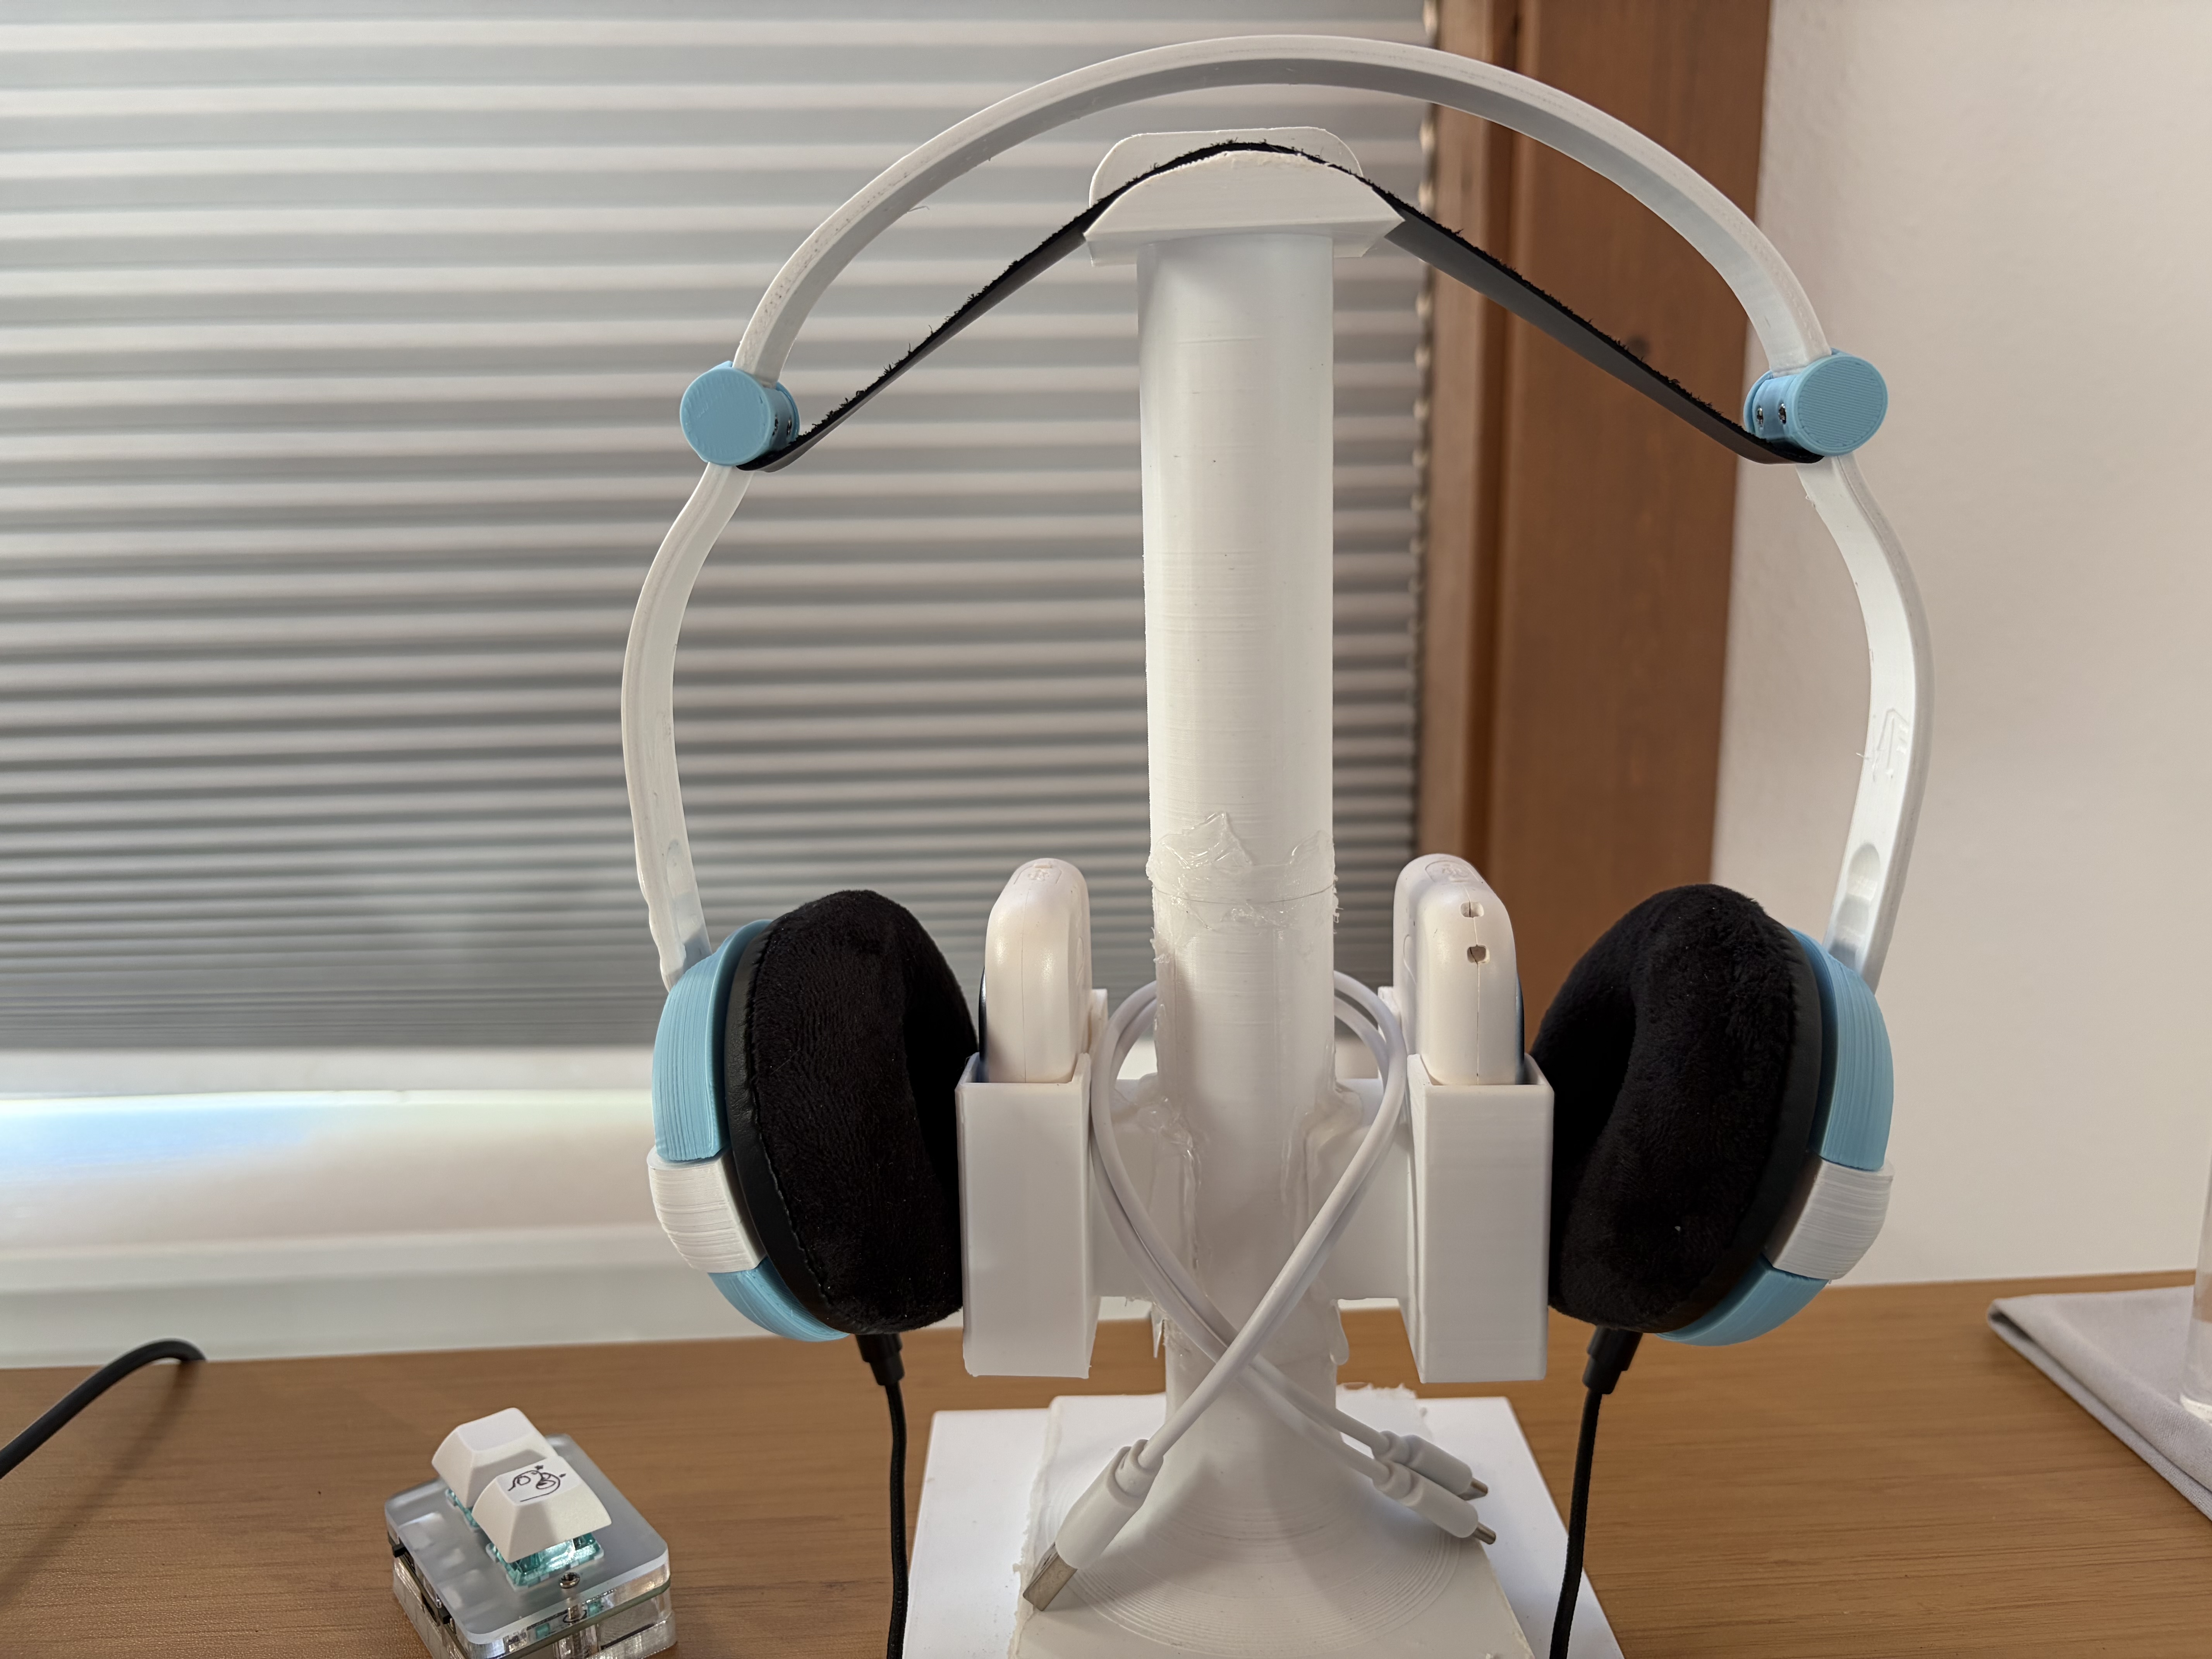
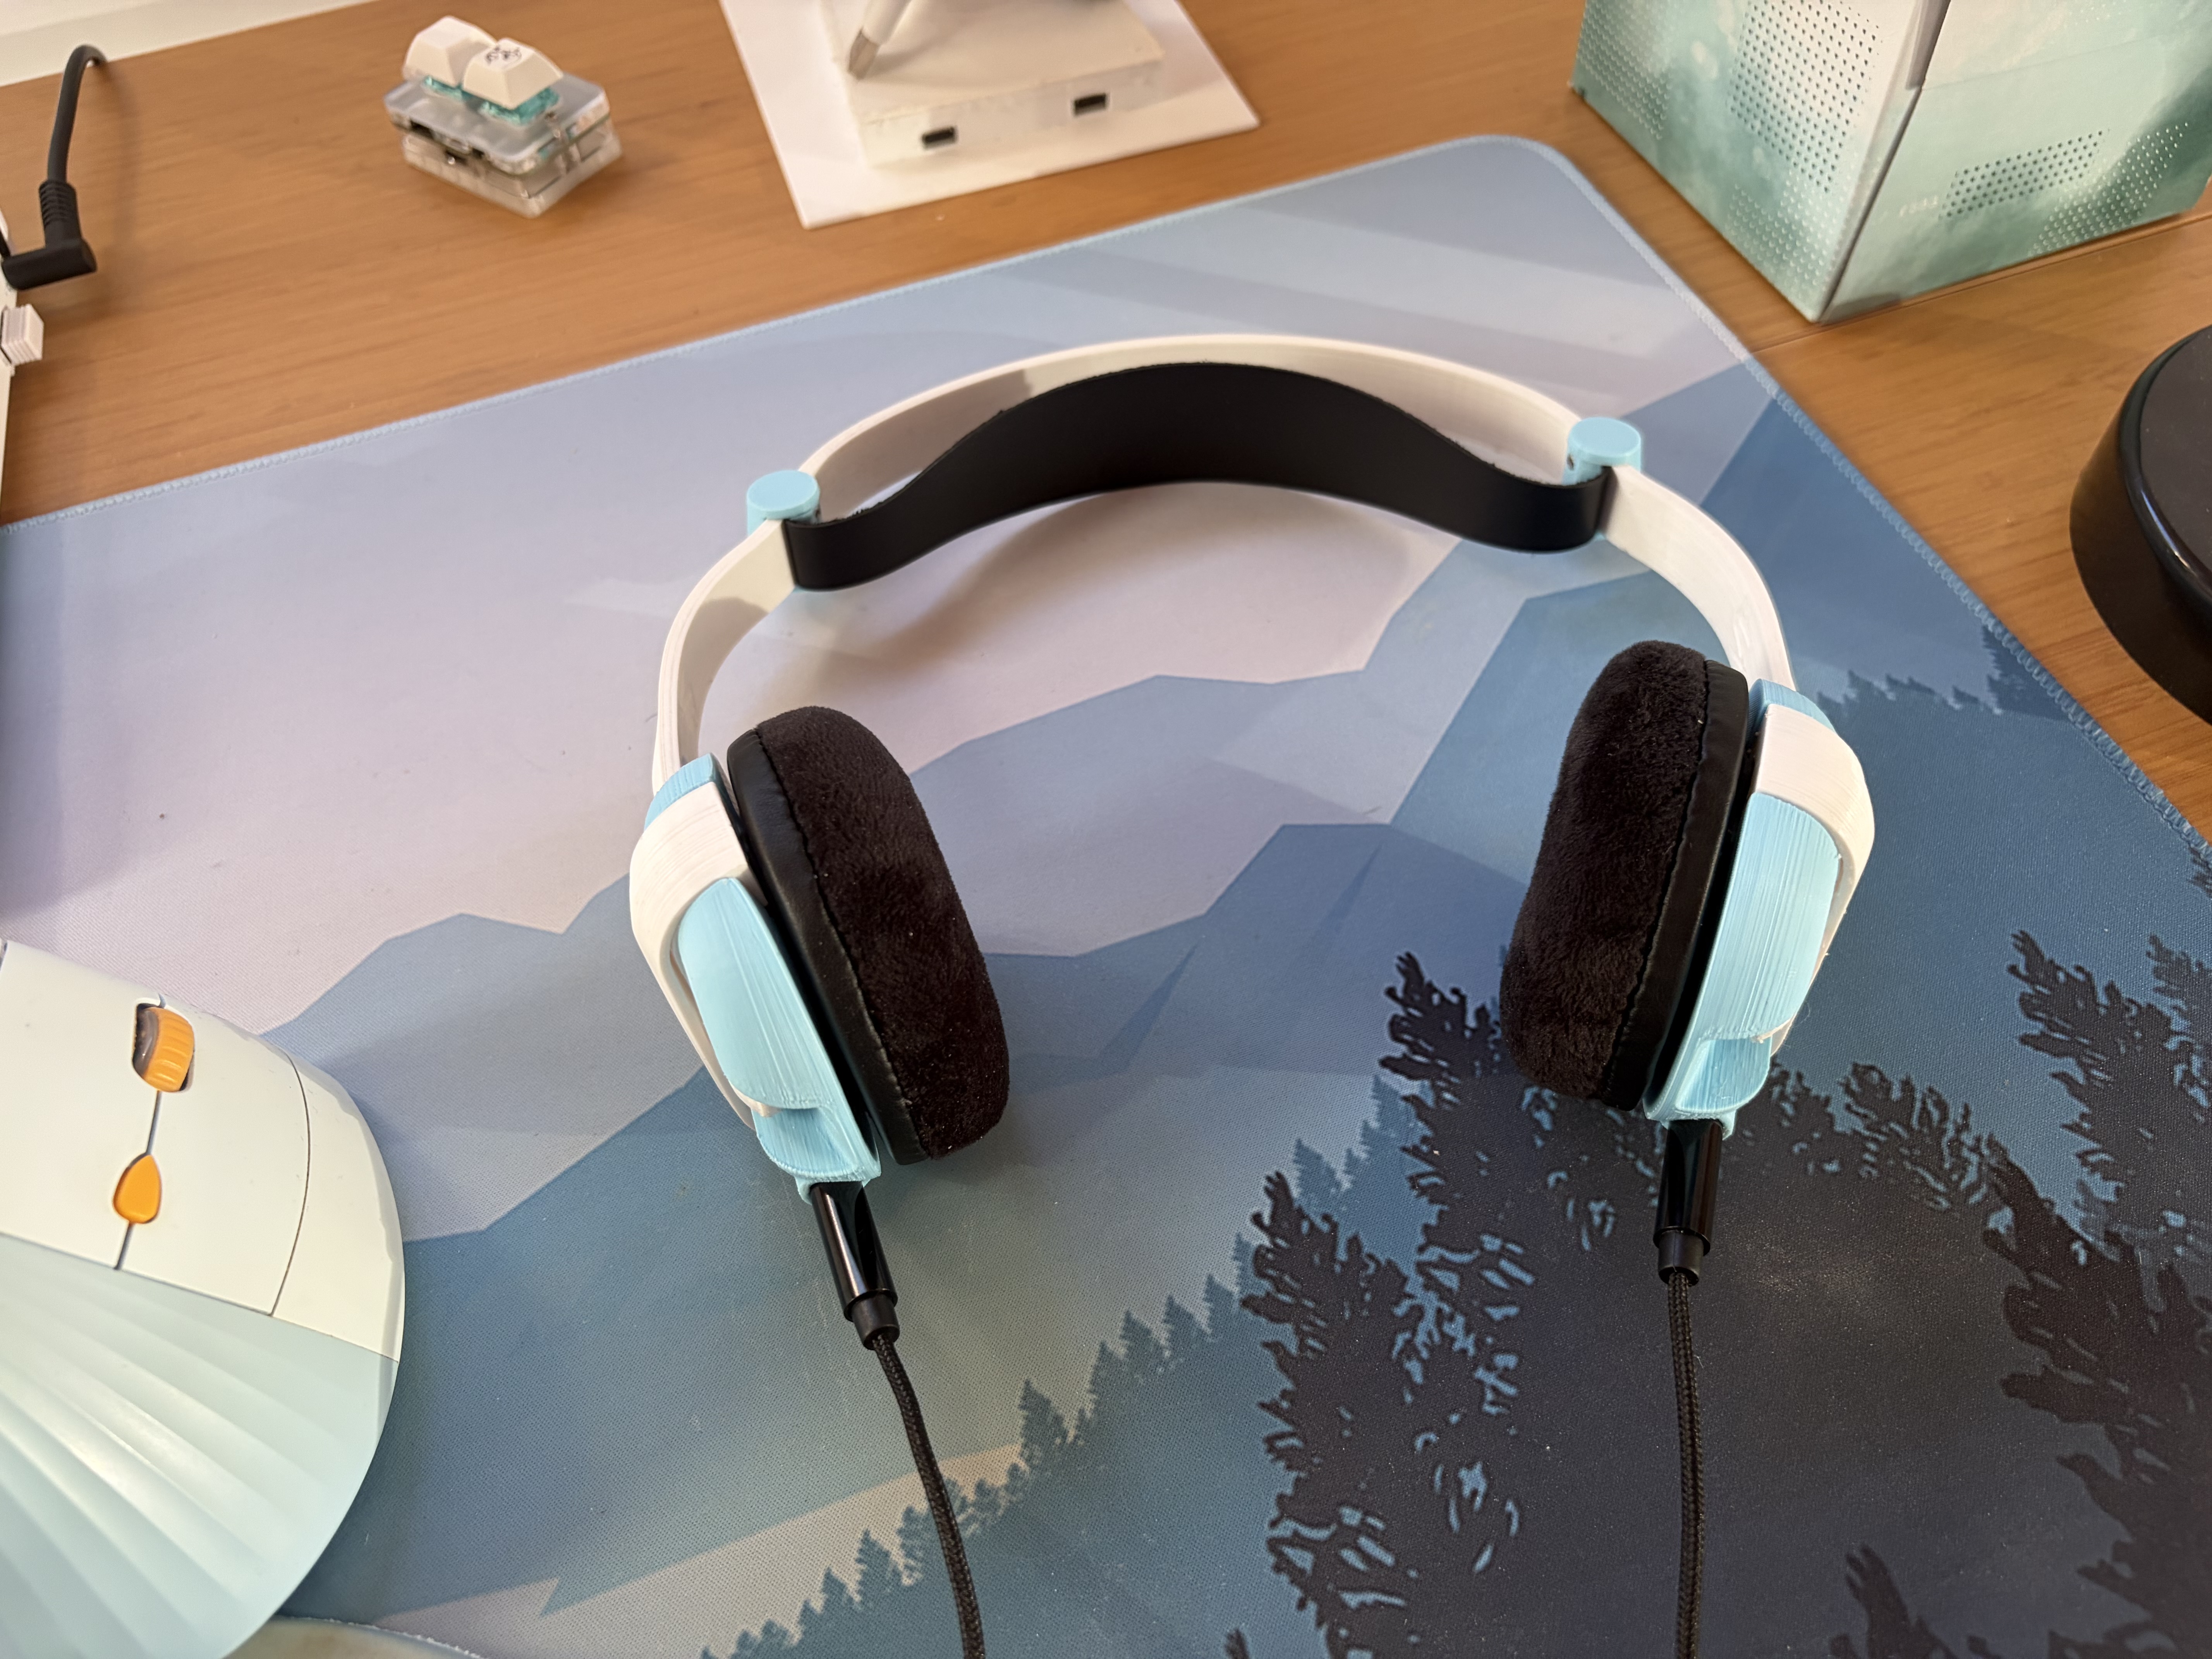
I used these headphones for a bit while playing some games and listening to some music. I can state with confidence that these are the nicest pair of headphones I own. They're Hi-Fi, the sound is bassy and clear, and its very light and comfortable. I can't describe it well, but you'll have to take my word for it that these drivers are audiophile-level quality.
Build quality is lacking here due to the superglued headband but these things can be quite durable if made properly. The leather strap is much nicer than memory foam and the whole thing is very easily repairable if something breaks.
If you decide to print these for yourself, learn from my mistakes and enjoy the audio quality!